Homebuilt Metal Drawer System - 80 Series
Author: Mike Kreitz (mtkreitz) Jun 10, 2014
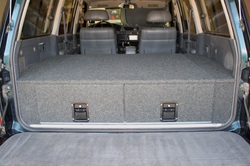
About a year ago I decided that I needed a set of drawers for my 80. I looked around and was shocked by the price of drawers. Don't get me wrong, I do not have a problem paying for things that I perceive as being worth the money, but in this case I just could not see the value in paying +$2K for such a 'simple' thing.

So I set out to do something for myself, and the Land Cruiser community. To design a set of drawers that could be constructed by the average do-it-yourselfer (and a good friend with a sheet metal brake). What I learned along the way is that there IS value in the drawer systems that are commercially available. I still think they are pricing in a LOT of margin, but they were not as simple as I had originally thought.
The process started by finding something that I liked. Inspiration came from Iron Man's drawer system. I wanted something I could build out of 16ga galvanized steel, and could leverage inexpensive roller bearings. Here is what I came up with...
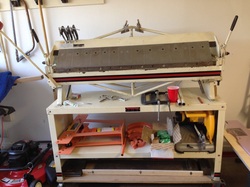
I then took it to a sheet metal shop and asked them how much to bend the metal. They said $700! I was floored. Undeterred I hit Craigslist. After-all, how tough could it be to put a straight bend in 16ga metal? Umm... more on that...
After $800 and nearly busting a nut loading it into my 100, I was the proud owner of a 48" 16ga sheet metal brake. What could go wrong?
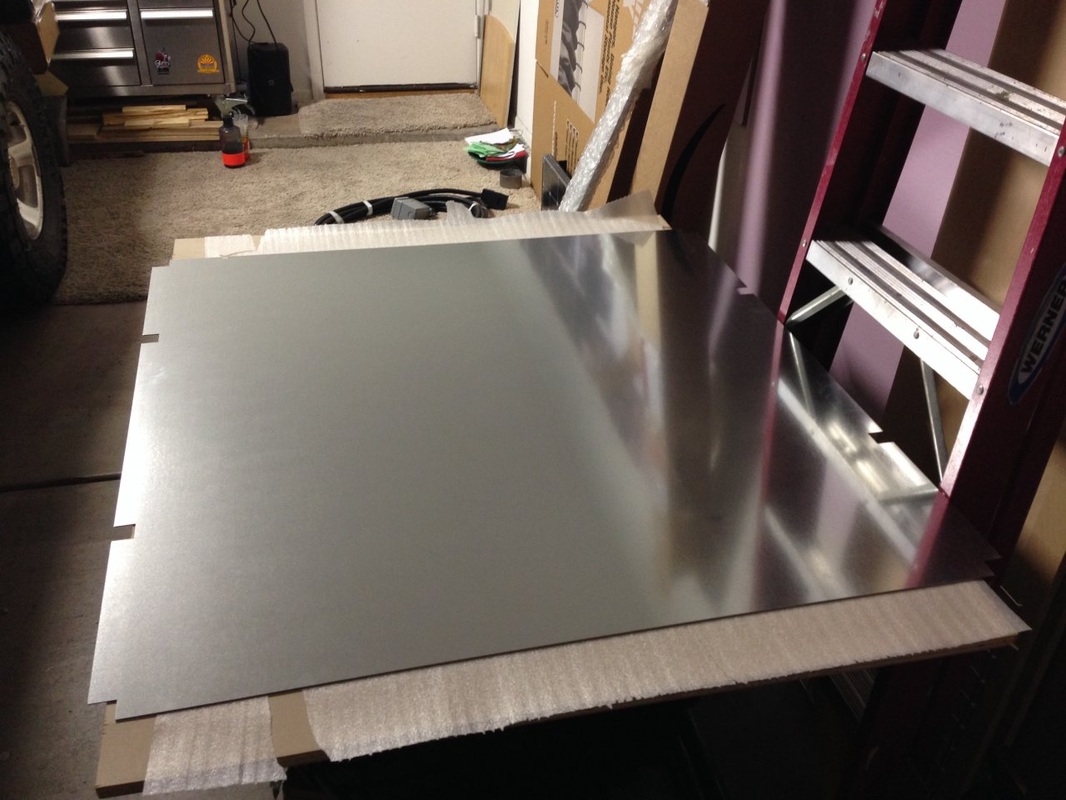
So I sent the design off to SouthWest Water Jet. These guys were a breeze to work with. A little unorganized, but they cut the metal and didn't hassle me.
Now up until this point, I was feeling good about how I was doing something for myself and the Land Cruiser community by making plans and testing a design that could be used by others. As soon as I put the first bend into the metal, I started to rethink that plan.
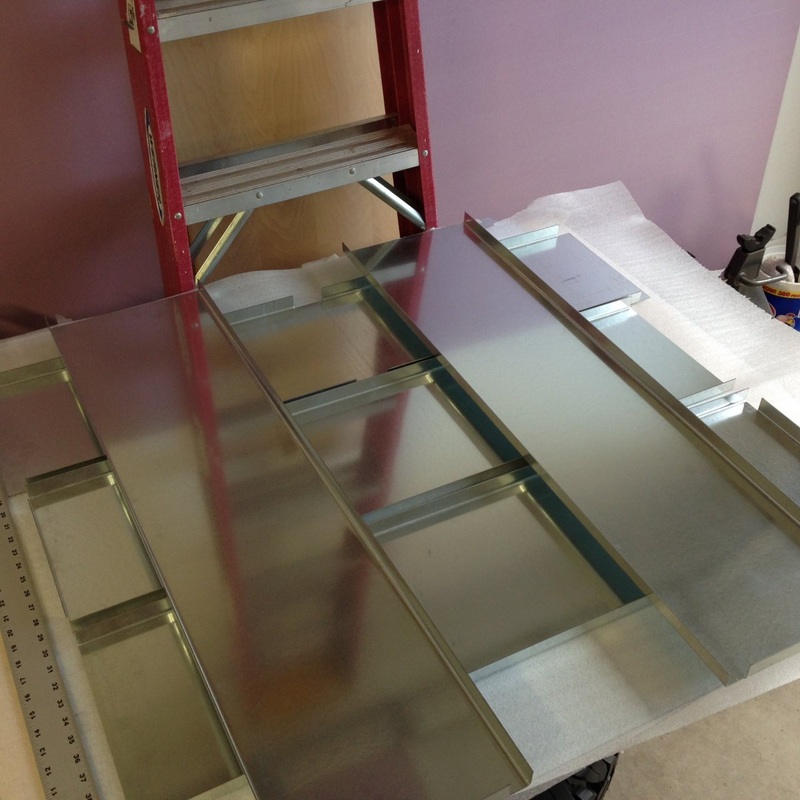
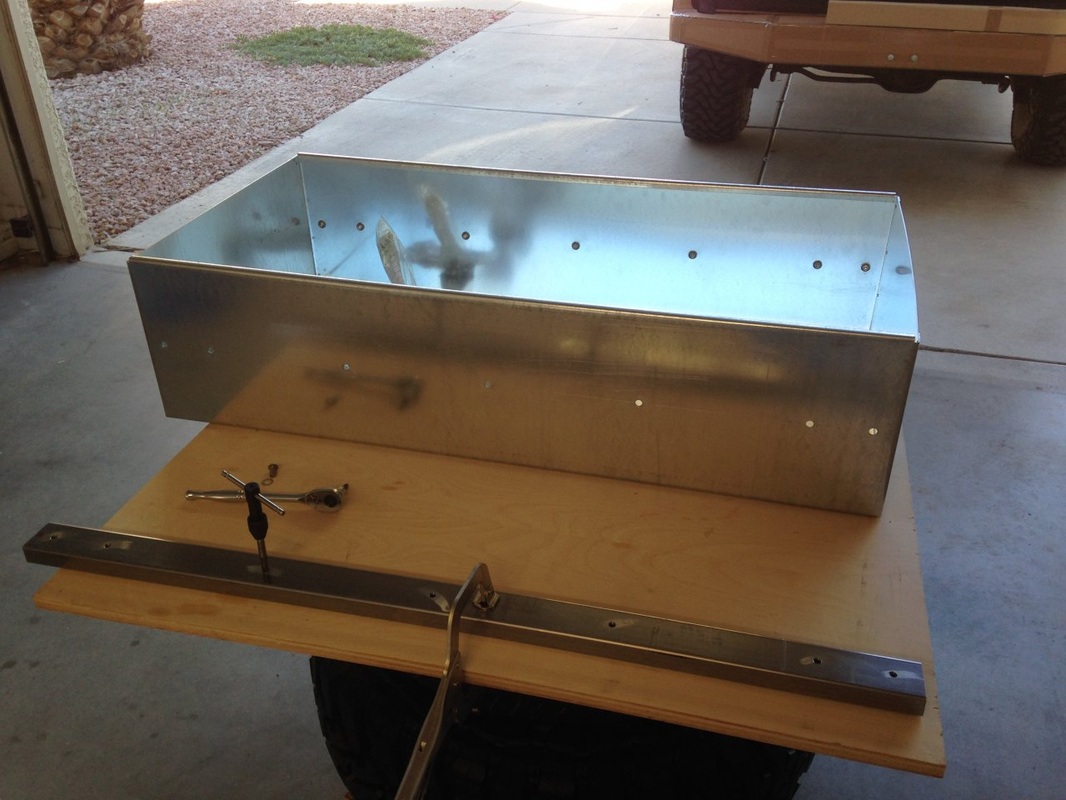
The bending was slow going as the measurements needed to be accurate to tolerances I had never worked with before. Usually it is ok to be off 1/16 of an inch, who cares right? Well with metal, every thousandth matters. I painstakingly bent each piece, measuring, clamping, measuring again, adjusting the metal brake (like I knew what I was doing) and praying I did not screw up the only set of metal I had.
When I was done I was a little stressed out, and had become fully educated on this little thing called 'metal stretch'. Who knew that when you bent metal it actually gains length? Not this guy! Thankfully I bent the 'important' dimensions first, but it would come back to bite me in the end.
Things were going pretty good. I started to locate holes for the bearings, drawer slides, etc... I saved the base for last as I thought it would be the easiest.
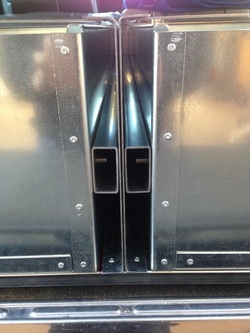
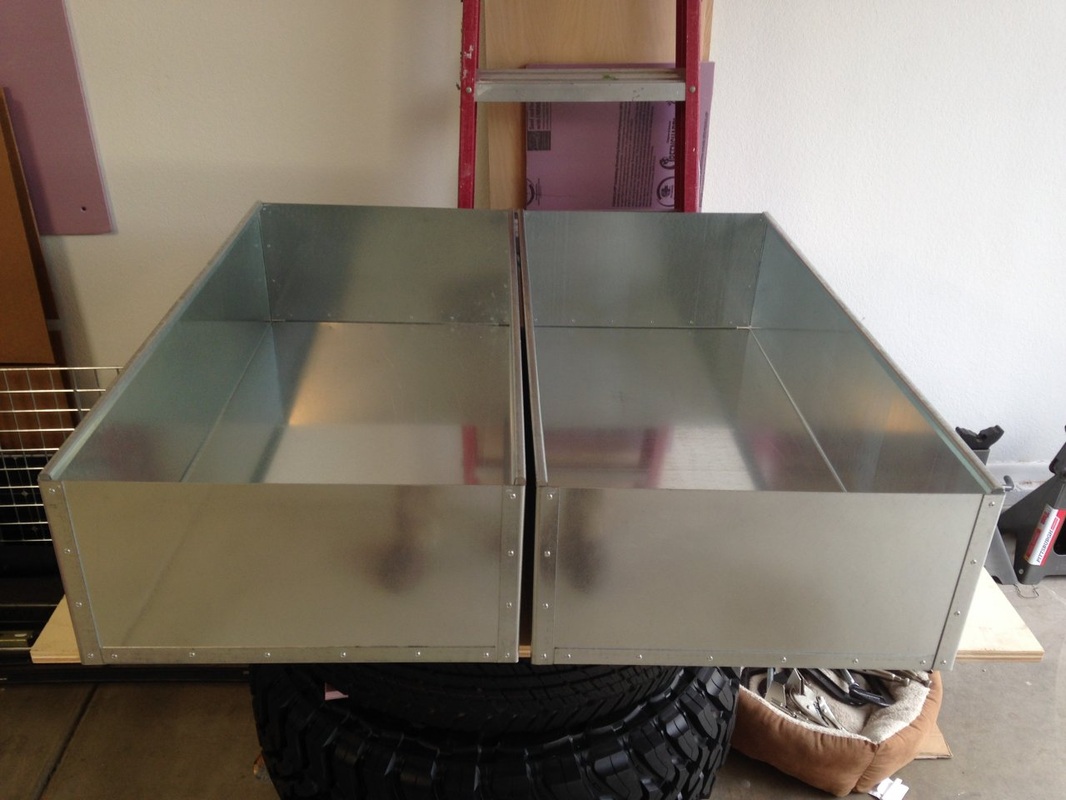
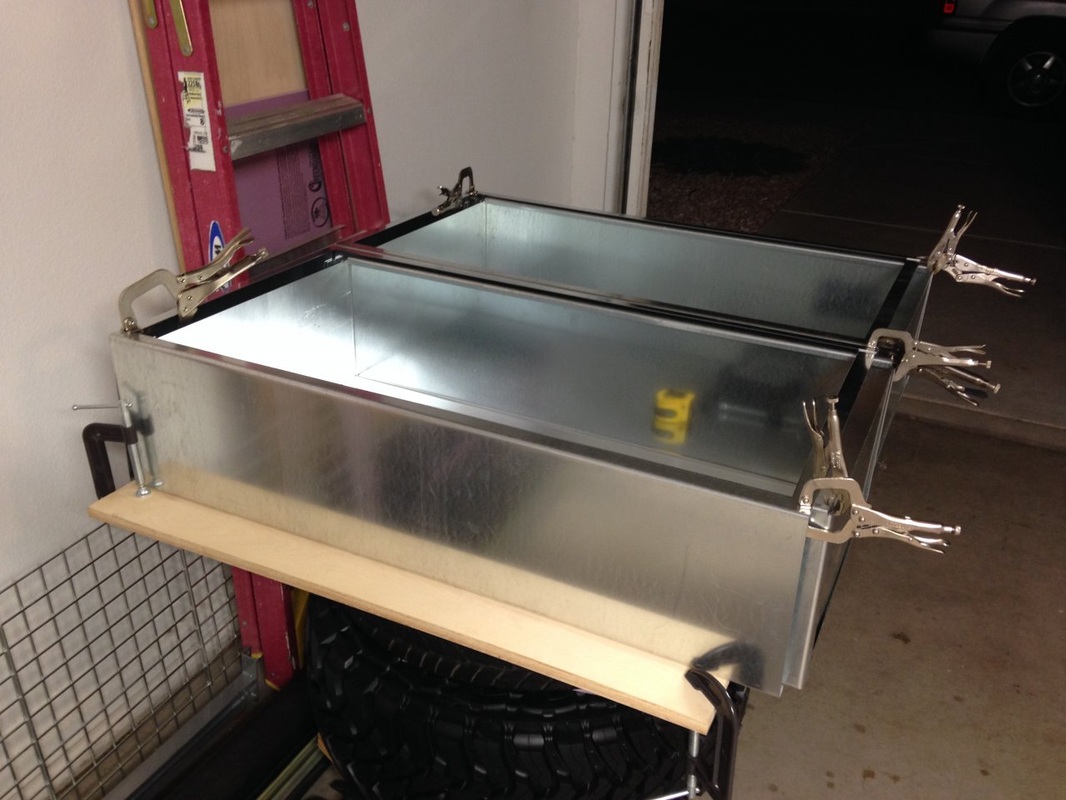
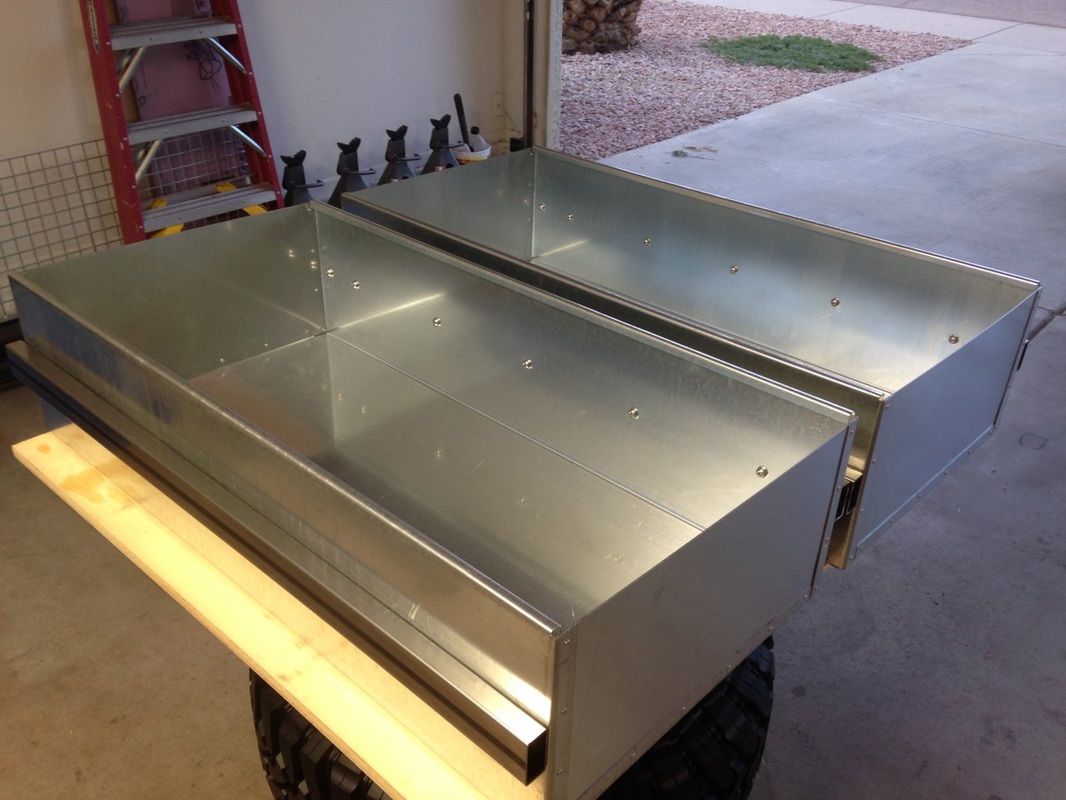
Everything was going to plan. Now you may notice that the drawers are a bit taller than others on the market. To be completely honest this was a mistake, but one that I now actually am glad happened. What I am NOT glad that happened was metal stretch, because it wound up making the fit between parts too tight for my liking, and the whole thing a bit too wide to fit comfortably between the rear wheel wells. (FYI those straps across the top and rivets to the base were just to hold things square during mock-up)
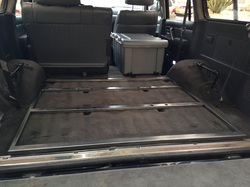
To take a few inches off the ol girl, I went down in size on the rails and took about a half-inch off the overall width. This helped considerably. It is still a VERY tight fit, but it made it in there with a few well placed love-taps. (below is BEFORE picture)
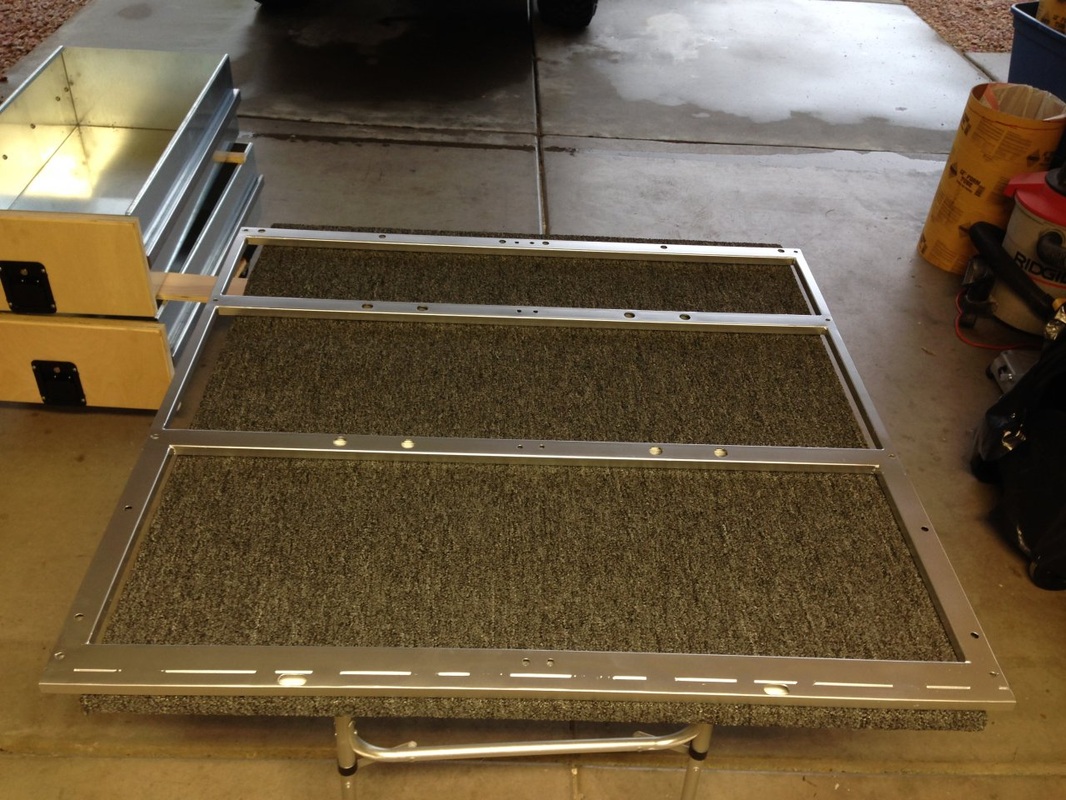
Then my attention turned to the base. This was supposed to be made out of hat channel and some other home-bent parts, but as I learned, it is very difficult to make hat channel (if not impossible) on a pan brake. So I grabbed some square steel tubing that I had and put together a frame. I would have never imagined it, but this was the most difficult part, and the part that took the longest.
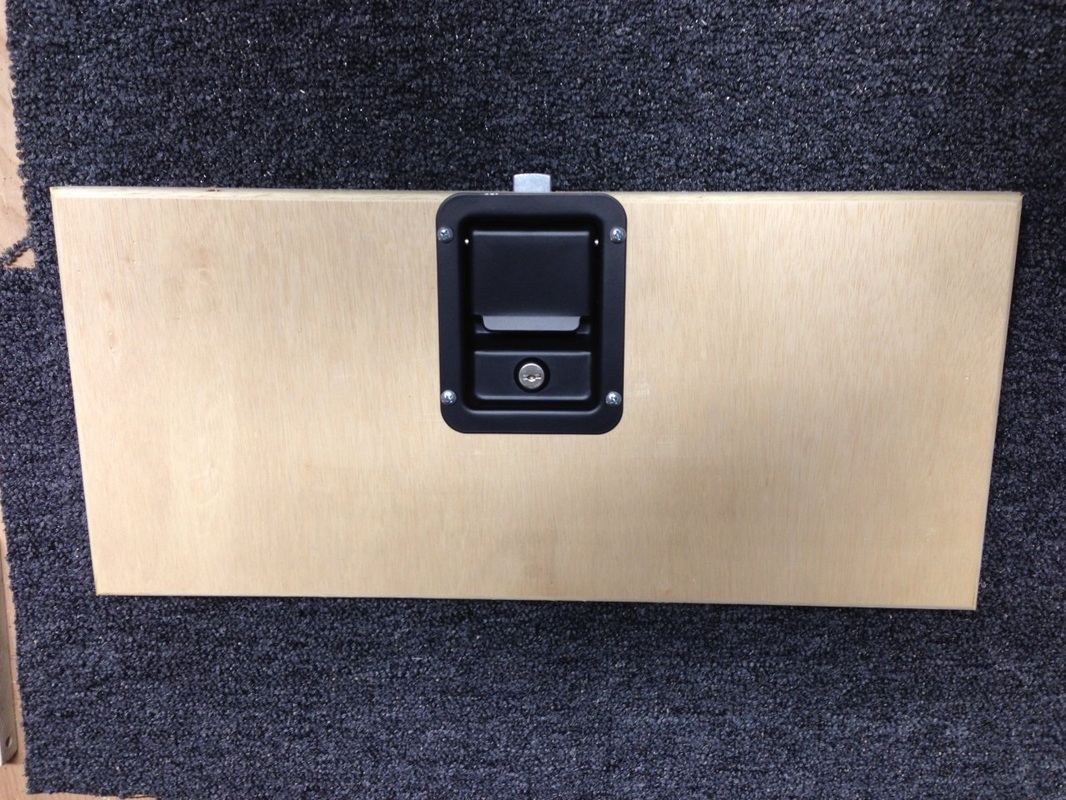
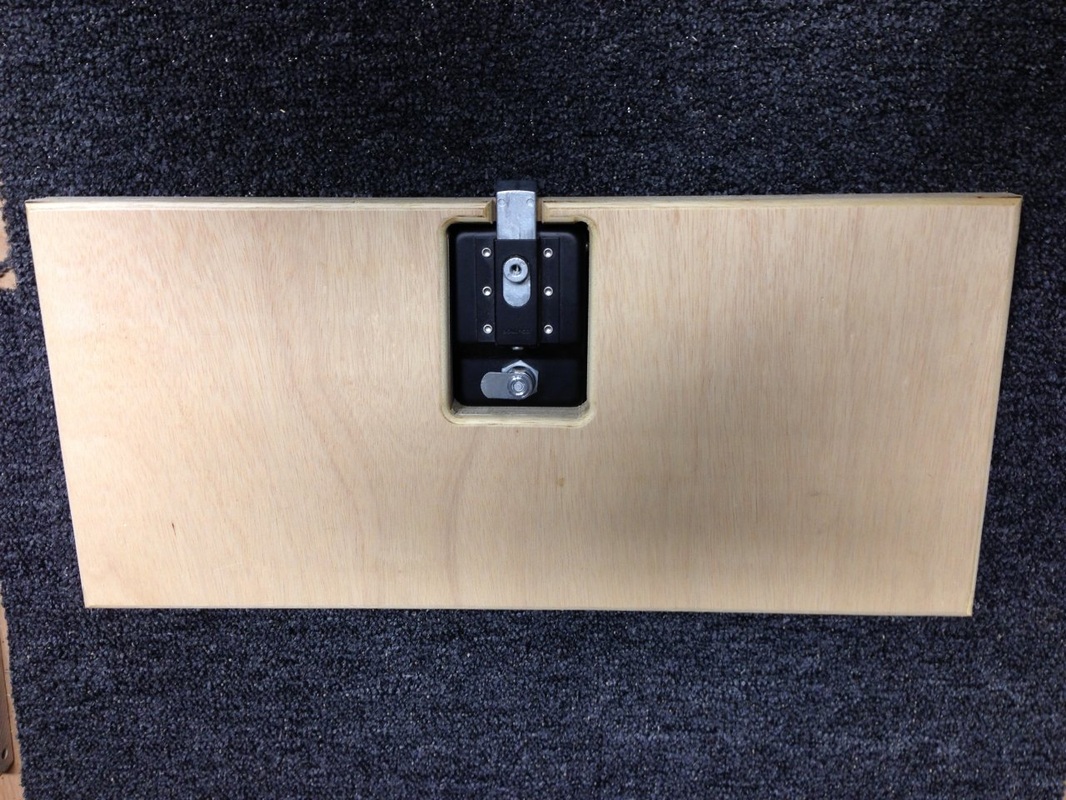
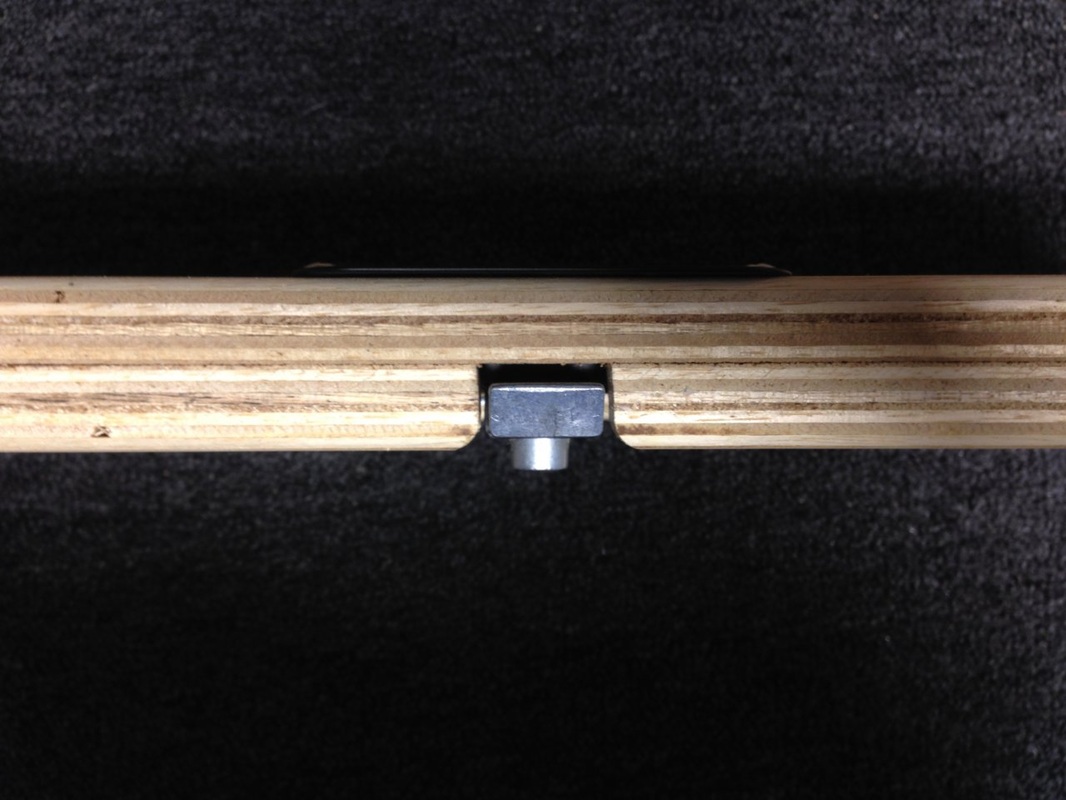
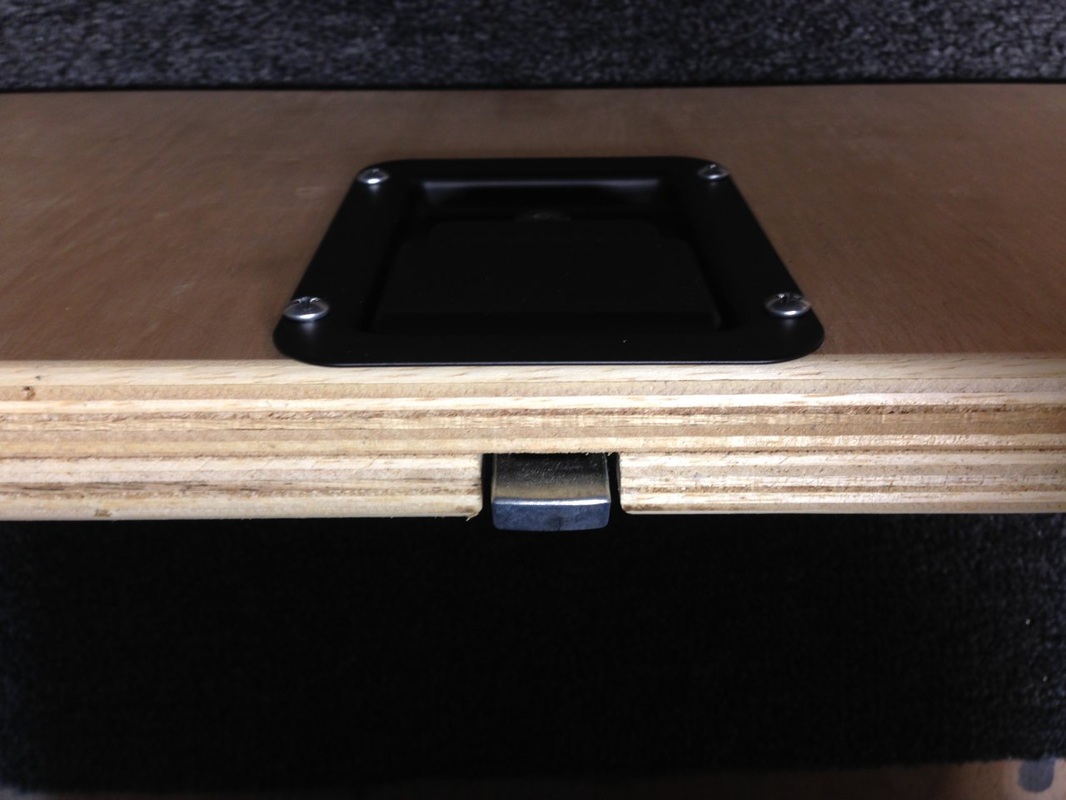
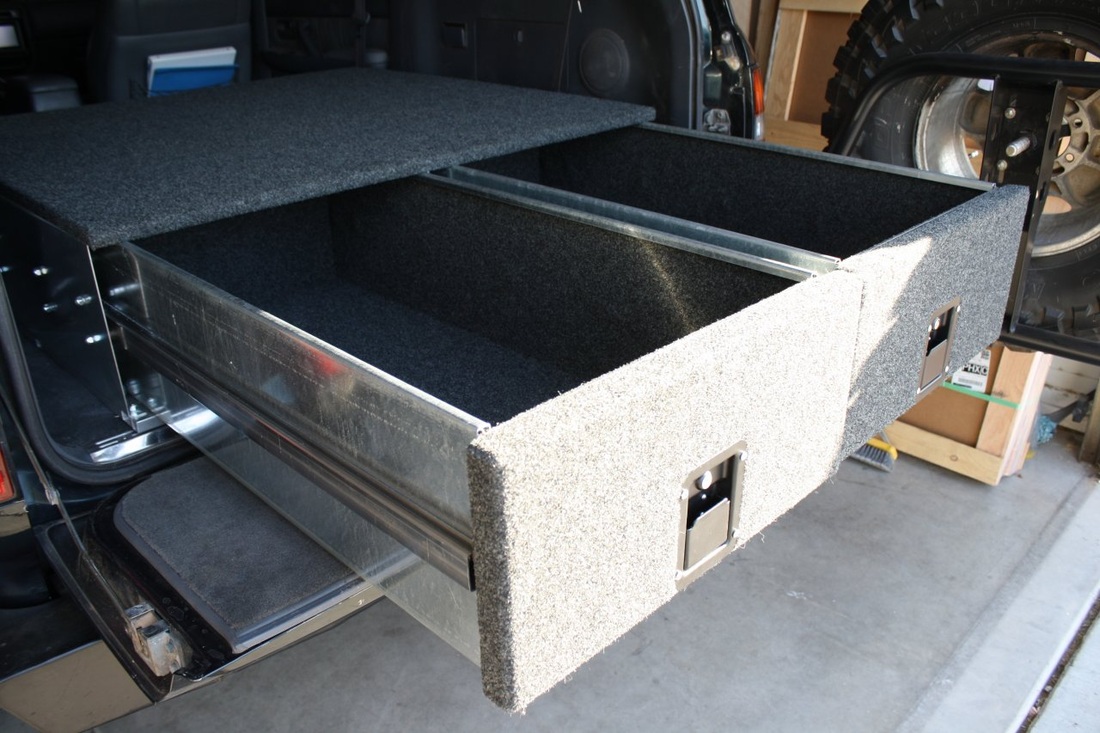
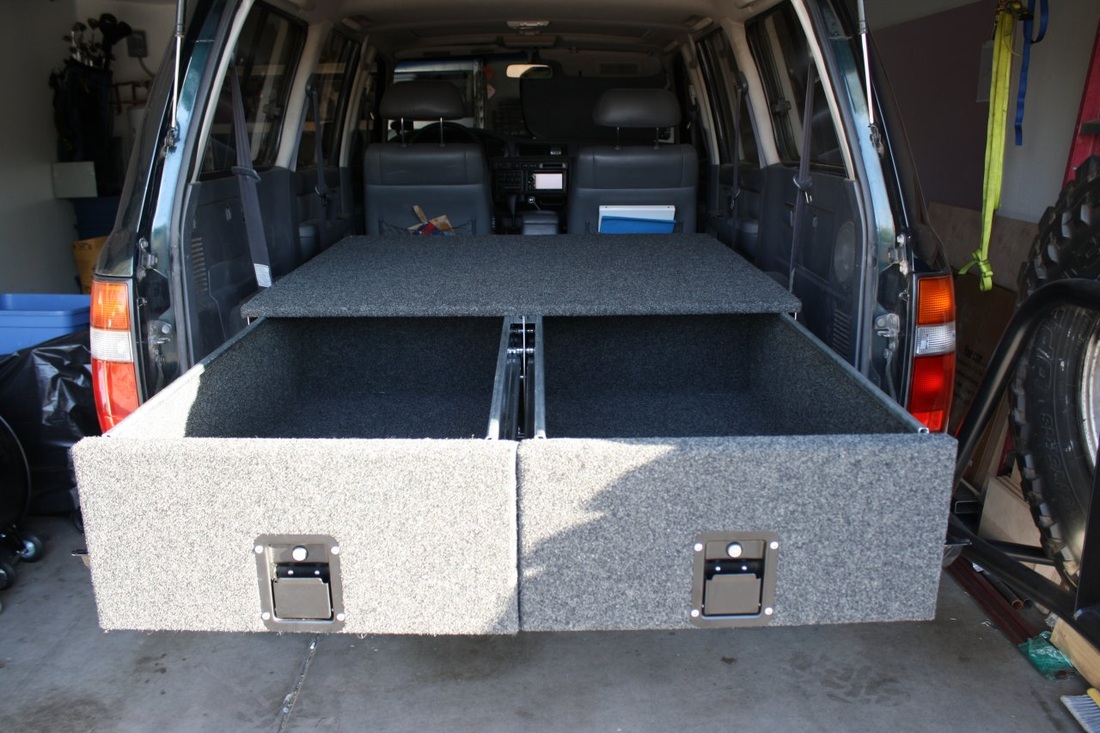
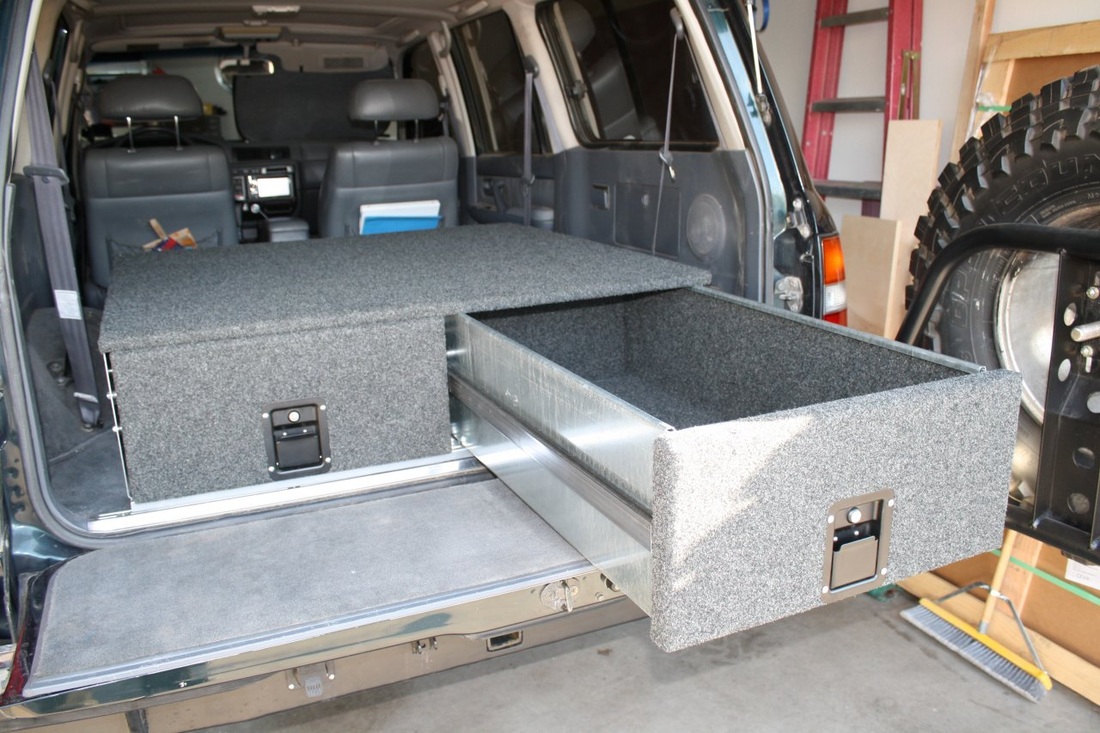
Now that-that was wrapped up, it was time to work on the drawer fronts and locks.
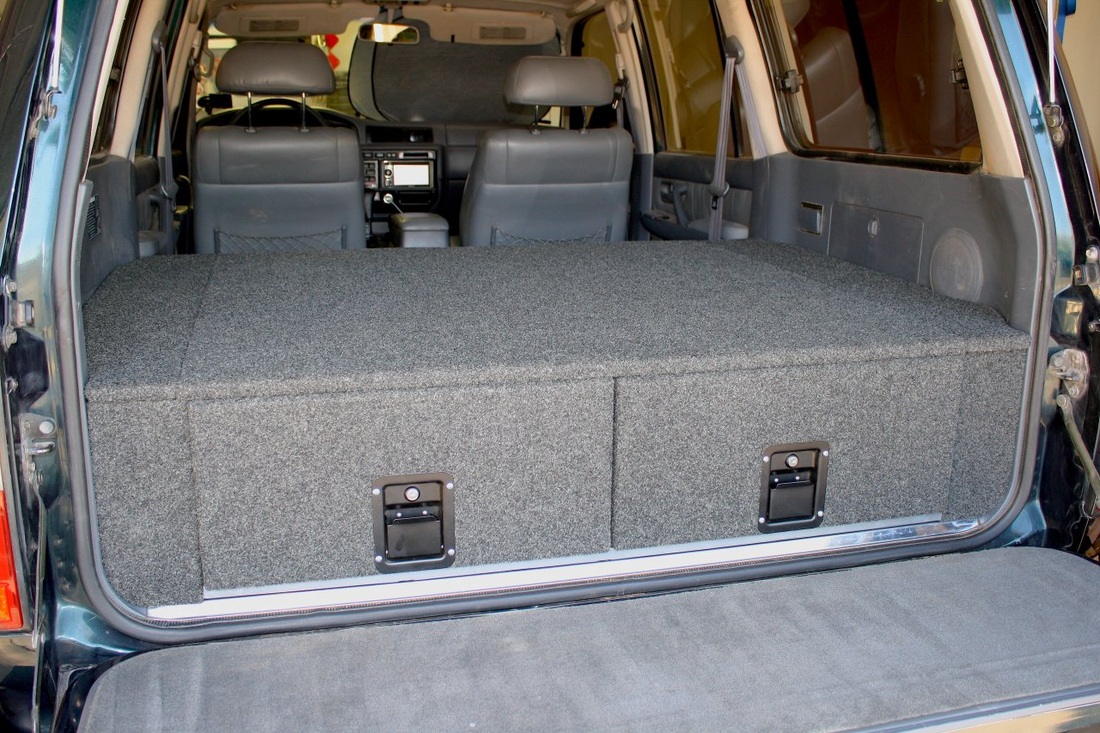
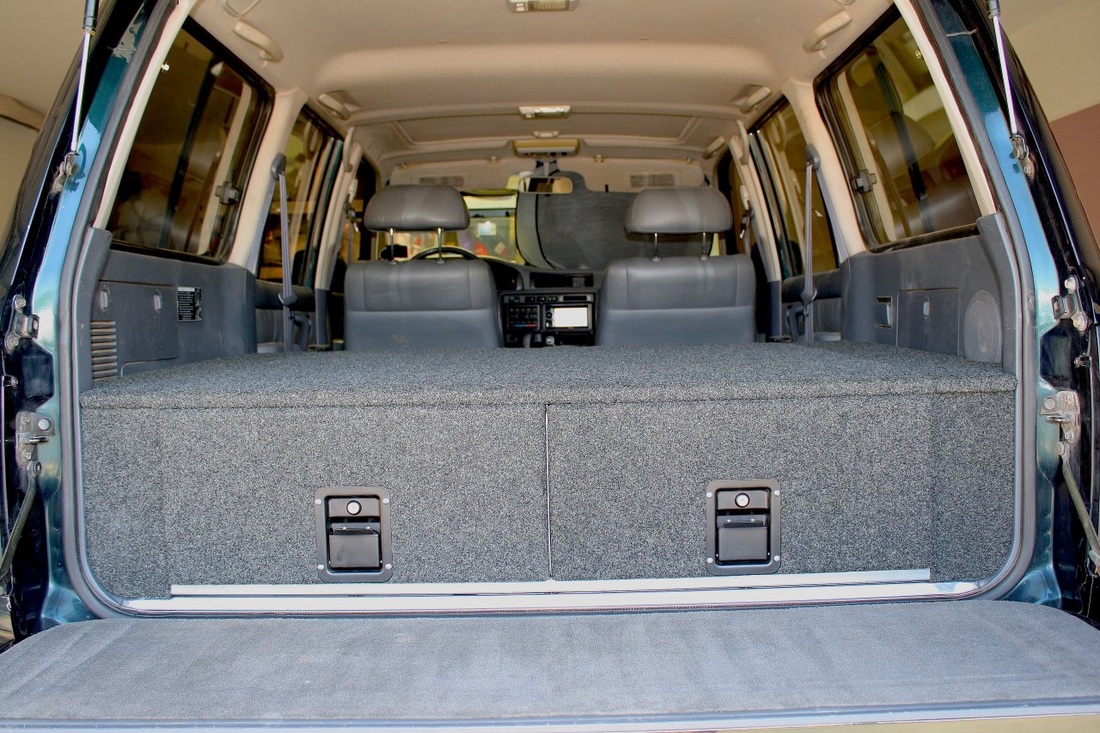
Then the top, and carpet.
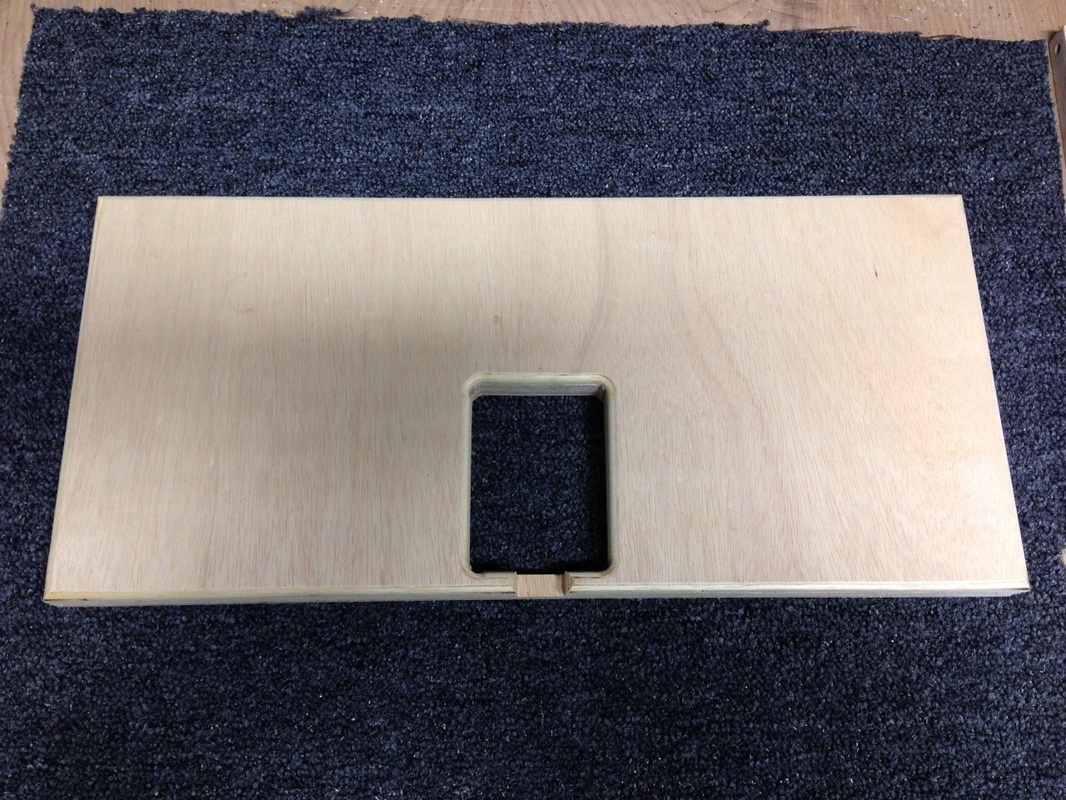
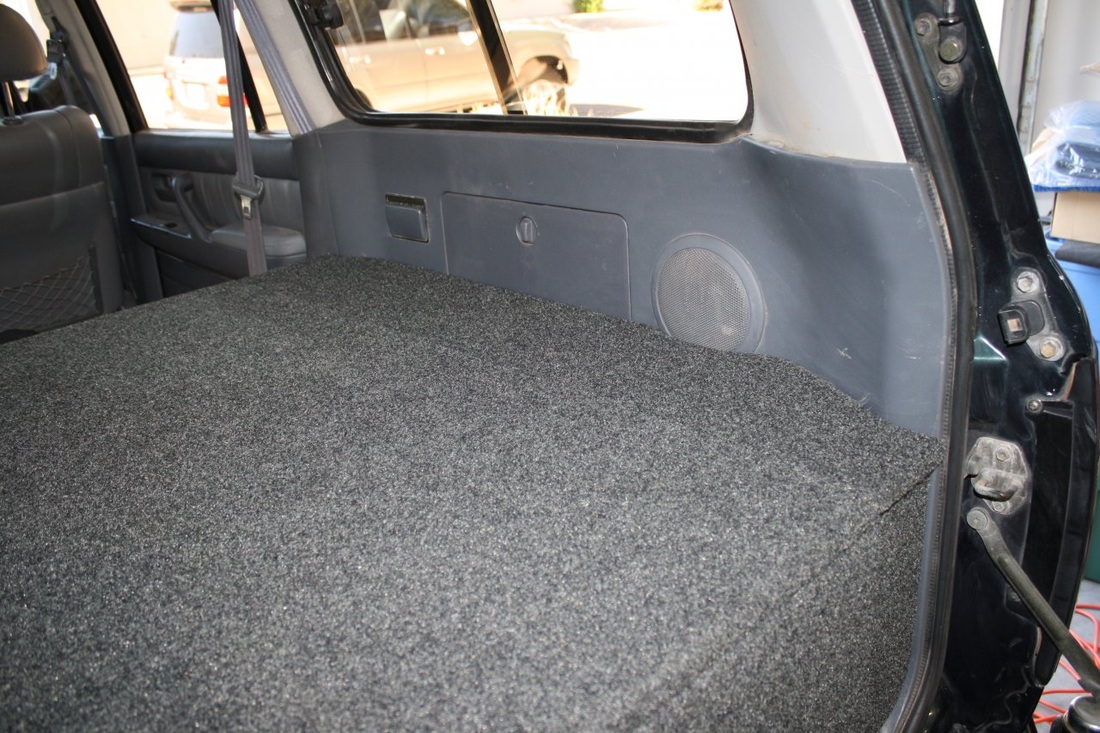
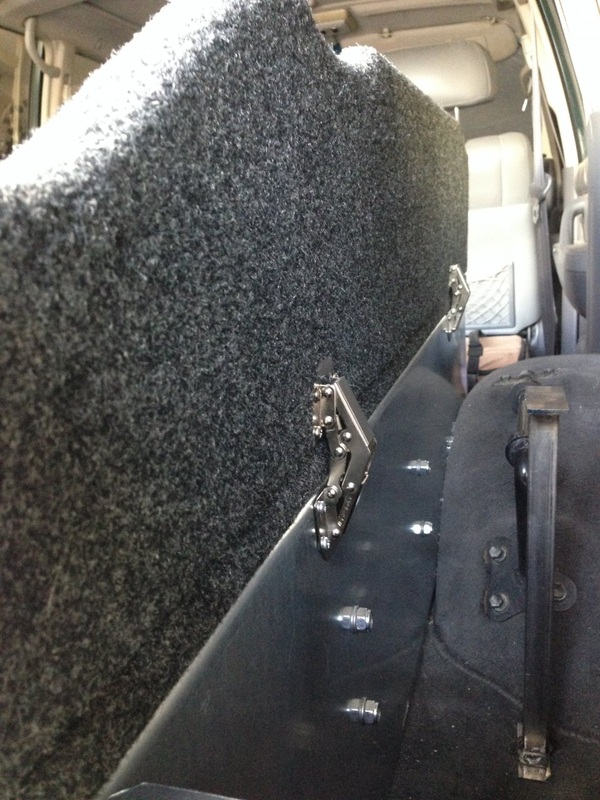
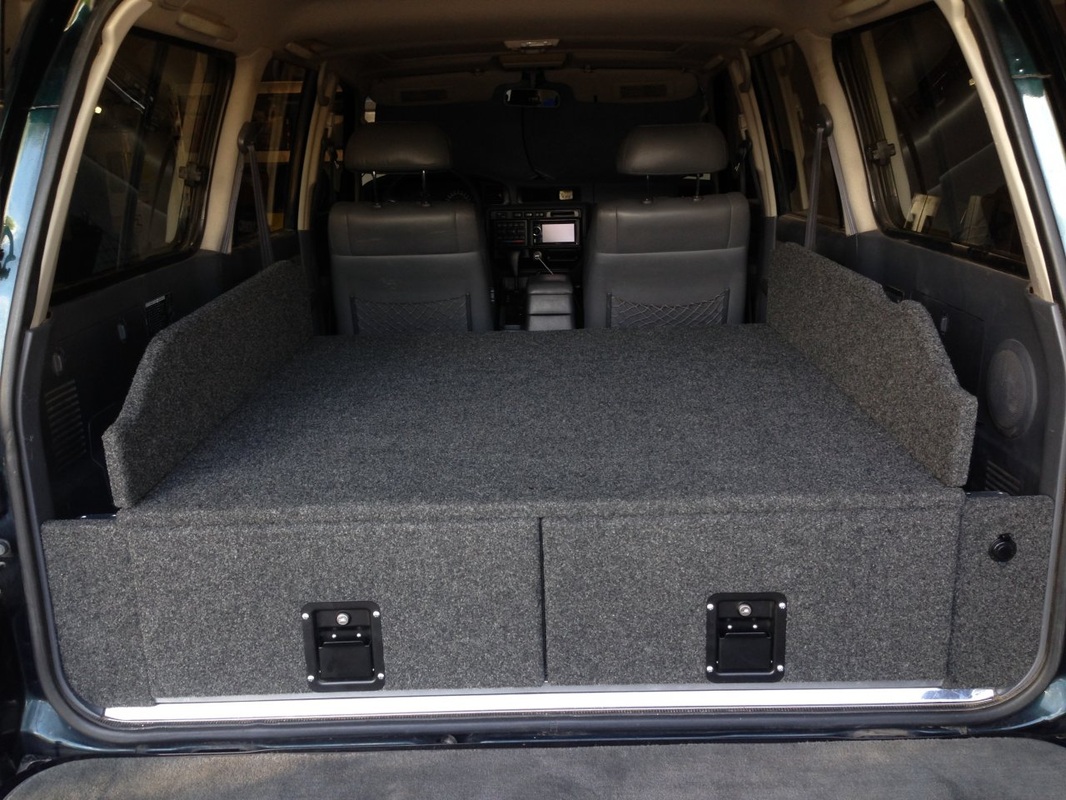
And finally the trim panels...
